Saturday, January 28, 2012

Ribbon Holder

I mentioned to my dad that I needed some type of ribbon holder for my craft room and look what he made me...


So simple but so great!  I have a great dad that is always willing to help me out with projects.

No Boring Box Sets

My dad was in need of some cards to send to his clients and wanted something more personal than your typical boxed card sets.  So of course I jumped at the opportunity.  Since he needed quite a few I kept the cards clean and simple.  I actually really enjoy doing "assembly line" cards.  I love getting all the pieces together and then cranking them out.

Thinking of You...

Stamps:  Elizabeth, Teeny Tiny Wishes


Stamps:  Medallion (of course!), Teeny Tiny Wishes
Punch:  Word Window

With Sympathy...

Stamps:  Elizabeth, Teeny Tiny Wishes

Stamps:  Medallion, Teeny Tiny Wishes
Punch:  Word Window

Happy Birthday...


Stamp:  Engraved Greetings (retired)

Stamp:  Teeny Tiny Wishes

Birthday Wishes...

Stamp:  (retired hostess sets)

Stamp:  Creative Elements


Tuesday, January 3, 2012

2011 Christmas Card

I hope every one's New Year is off to a great start!  I've wanted to post pics of my Christmas cards for awhile but I've been unable to locate my camera to take decent pictures.  I still have no idea where the camera is so I used the camera on my phone.  Needless to say the quality is lacking but I think you can get the idea.

If you've read any of my previous posts you know I'm a huge fan of the Medallion background stamp so it only made sense to use it for our family Christmas card.  I got the idea from another blog but unfortunately I can't remember where.  I'll update this post later if I find it again.


SU! Stamps:  Medallion Background, Hand-Penned
SU! Colors:  Old Olive, Cherry Cobbler, Very Vanilla
SU! Ribbon:  Cherry Cobbler Seam Binding

I also wanted some coordinating thank you notes so I made a 5 1/2" x 4 1/4" flat note.  Instead of the Very Vanilla I used Whisper White.

SU! Stamps: Medallion Background, Fabulous Phrases
SU! Colors:  Old Olive, Cherry Cobbler, Whisper White
SU! Punches:  Modern Label, Word Window, and Itty Bitty Shapes

Thanks for stopping by!  Come back soon!
Tara


Saturday, December 31, 2011

Starting the New Year off right

I'm really going to try to post more to this blog in 2012!  No resolution, just something I'd like to do. 

And something I'm going to do a better job of in 2012 is sending birthday cards to all my friends and family.  I've said this every year for years but I always mess up right off the bat because I have two really good friends who have birthdays the first week of January.  But I am finally ahead of the game this year!  I made cards for both of them and they are ready to be dropped in the mail.  Whew! 

While trying to decide what colors, paper, stamps, etc to use I was also thinking about a very big college football game coming up in the next few days.  And since these cards were going to University of Alabama fans I thought I would add some houndstooth to hopefully send some luck to our Crimson Tide!!  Roll Tide!!

 I used Basic Black, Real Red, and Very Vanilla along with Love Letter DSP.

Very excited to use the new Framelits (Labels).

Hope your New Year is off to a great start!!  Thanks so much for stopping by and hopefully I'll see you again soon!

Tara

Wednesday, October 12, 2011

Nicholas' Sesame Street 2nd Birthday

We decided to celebrate Nicholas' 2nd Birthday this year over the July 4th weekend.  We wanted all of our family to be able to come so no better time than a long holiday weekend.  Since it was a holiday weekend we rented a cabin on Lake Guntersville in Scottsboro, Alabama so it would also feel like a mini-vacay for everyone.

The Invitations...
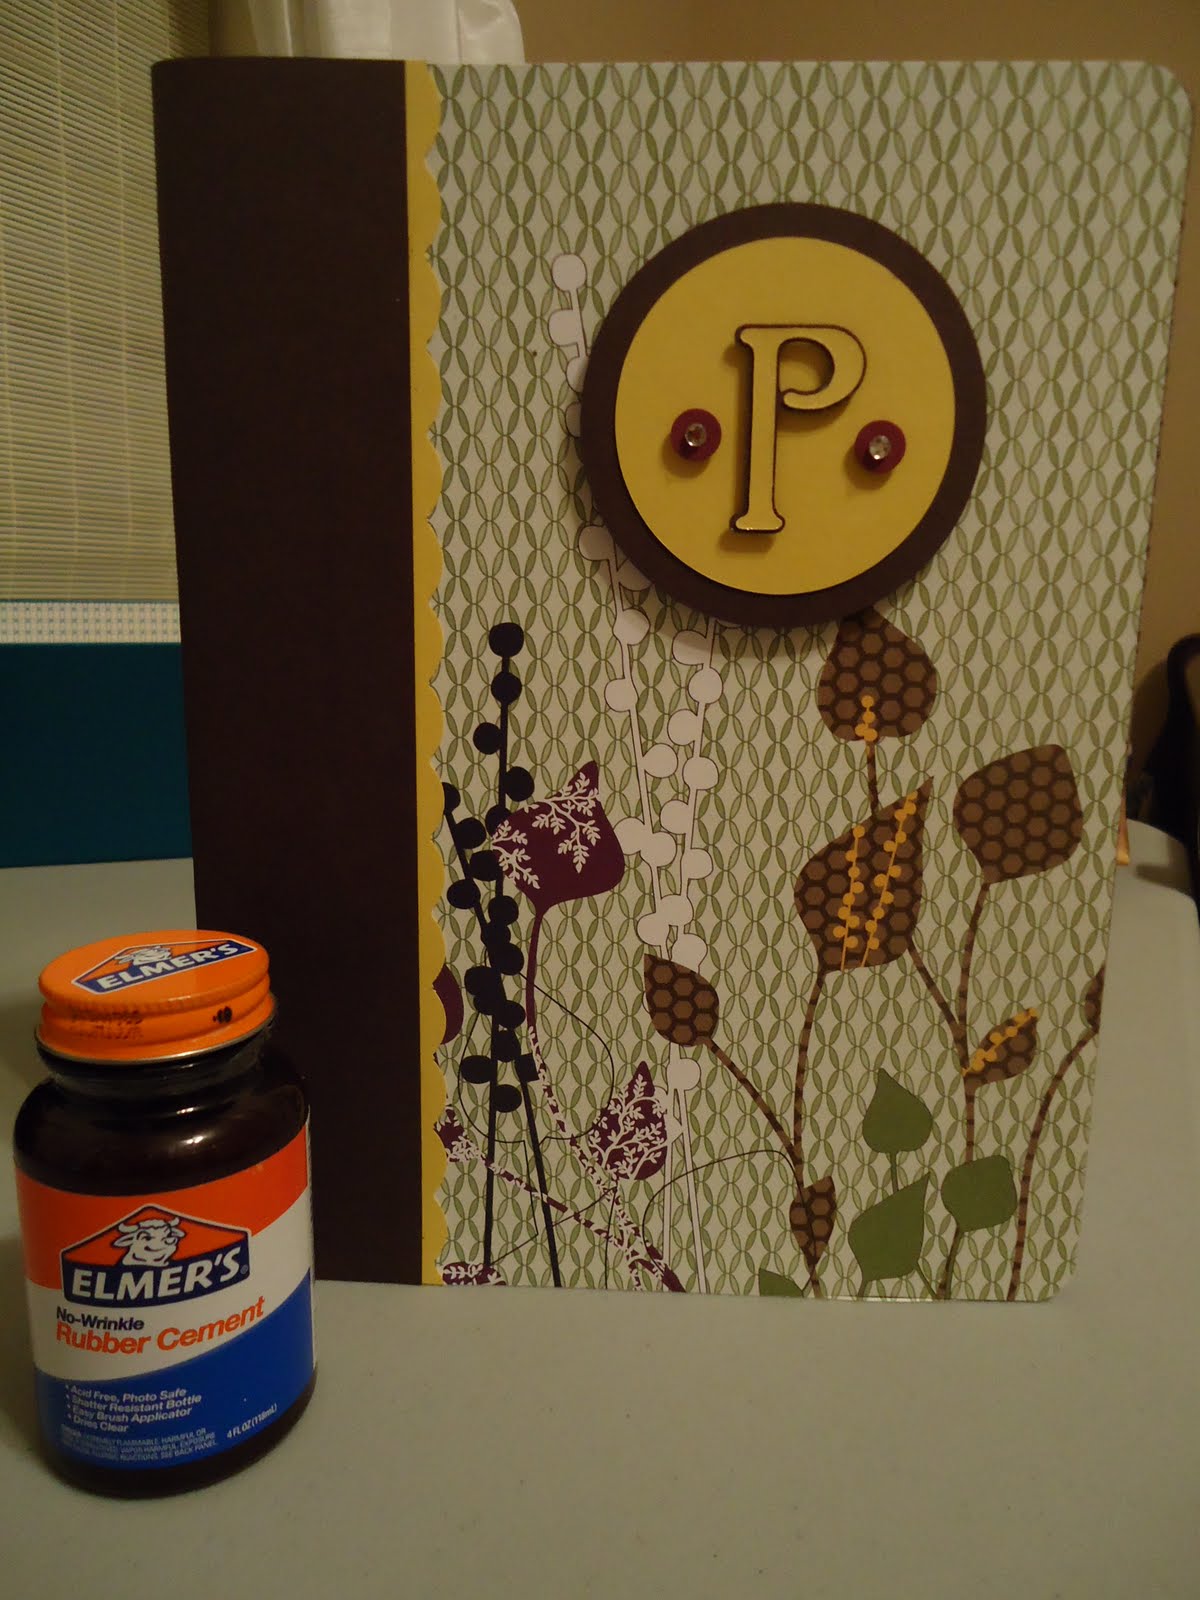
Thankfully I had lots of help on the design of the invitations.  My sister-in-law, Heather (check out her blog), and her mom, Jackie (and her's too) designed the punch art Sesame Street characters for me.  It was all great in theory but it did take quite awhile to fully assemble twenty of these invitations.  I was very happy with the way they turned out.   


The front is a spinner card so that Elmo's head would slide back and forth.  The Sesame Street "sign" I made in Word and had printed at Kinko's and then cut myself by hand.  Each colored dot is a 1/2" circle punched and glued to white cardstock.  Not sure what I was thinking when I decided to do that.  HA!

This is the inside of the card with Cookie Monster, Grouch, Big Bird, and Grover.  All of the characters were made using scalloped circles for the heads and different size circle for for the faces.  Luckily I enjoy tedious work.  They were really fun to make.


The Cake...
Again, I had a lot of help.  My mom and brother were a huge help making the cake and cupcakes.  I was going for a punch art look to coordinate with the invitations.  So happy my brother was there to make it actually work when my original plan didn't work.


I didn't too much for decorations since we were at a rented cabin. 

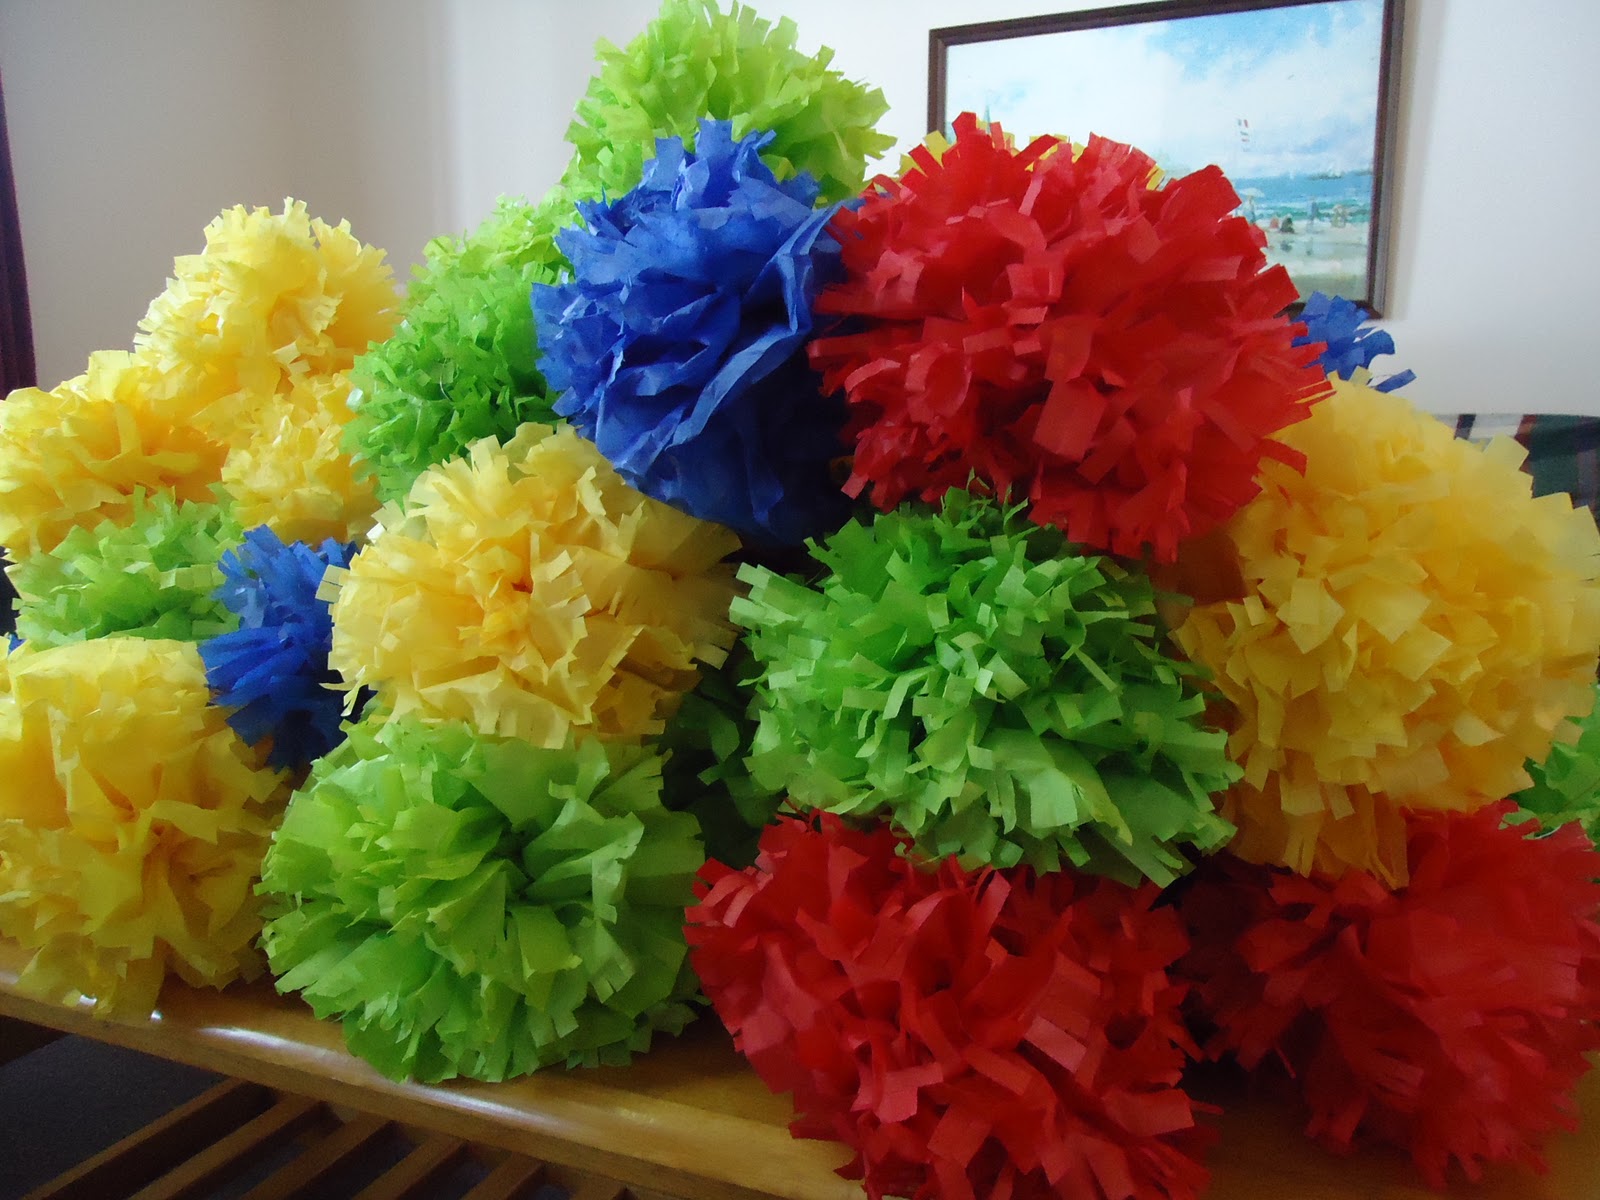
We made LOTS of tissue paper pom-poms to throw everywhere!


The food table before we set out the food.

Pretzel sticks dipped in white chocolate and sprinkles.

These were the favor bags for the kids.  They were made using the Stampin' Up! milk carton die.


Overall it was a great birthday party!!  I can't believe my little mister is now two!!
little mister did have on an Elmo shirt but it didn't quite make it through the day.  :)

Saturday, August 20, 2011

Composition Notebook

Here's a very quick and easy project.  I used Stampin' Up! DSP to cover a traditional composition notebook and ta-da! 
DSP - Pocketful of Posies
Early Espresso
Daffodil Delight
Cricut cartridge - Botanicals


Tuesday, May 3, 2011

Baby Steps

I can't believe it has taken me this long to finally make a card using the Baby Steps stamp.  As most of you know, I love me some elephants (Roll Tide!).  This was a fun card to make for some dear friends of mine and the new addition to their family.